Thiswill help you decide what it is you require for your business. It’s a fluid thing, what you need now might change and grow in the future.
It can be confusing to know exactly what these terms mean and what it is that you might want or need for your business.
I am going to attempt to demystify the differences and help you clearly understand, the role of each. And what you might want for your business.
The Headshot
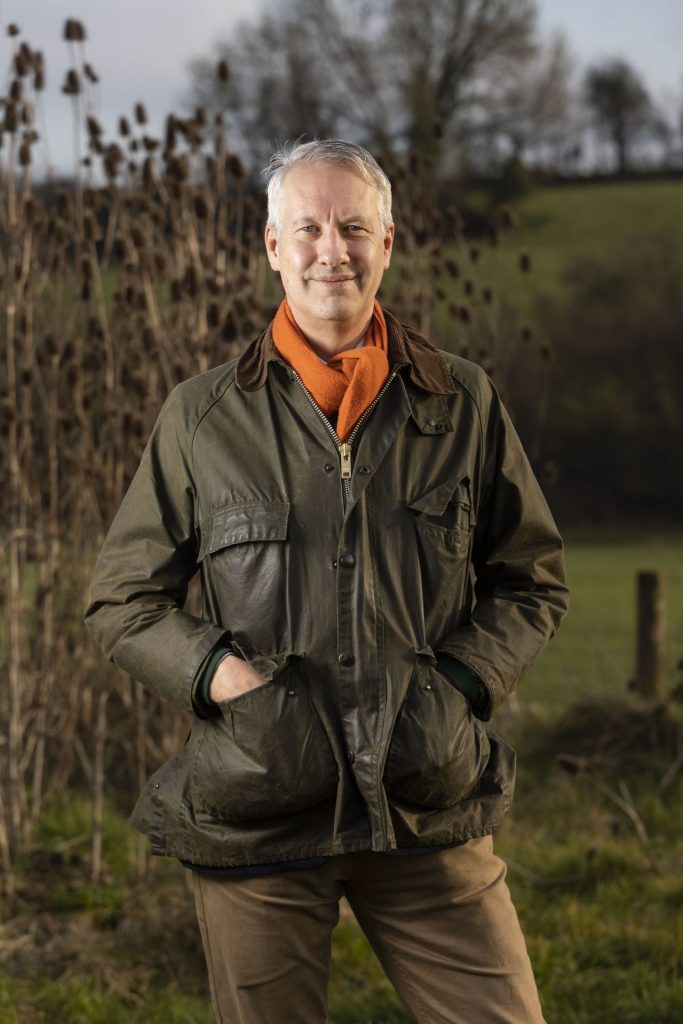
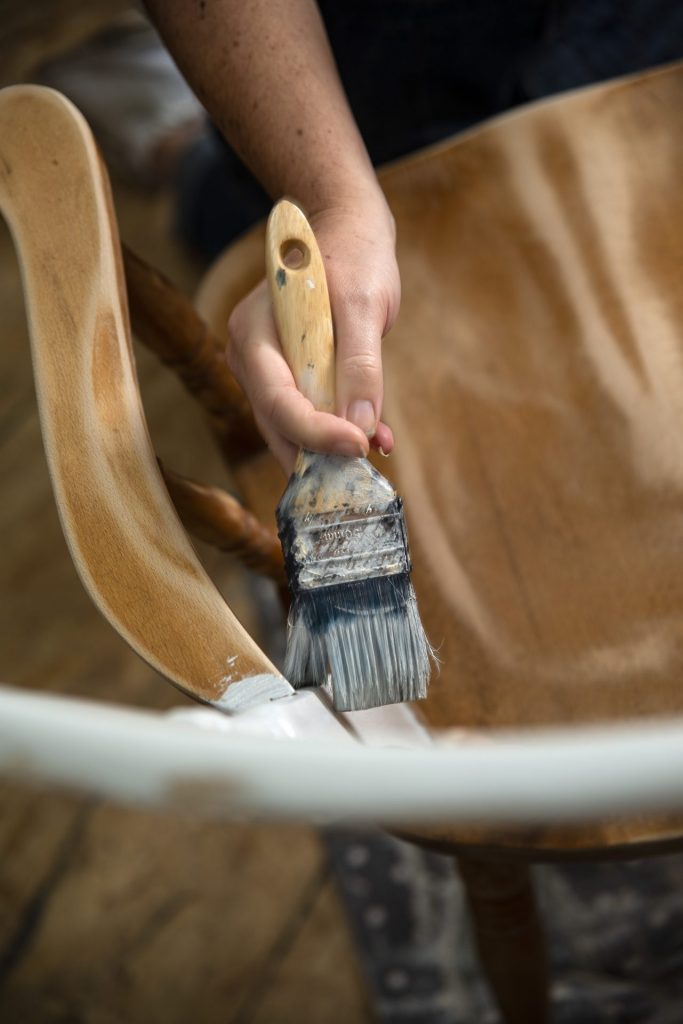
Simply speaking a headshot shoot is typically aimed at capturing an individual’s professional or personal image. It will usually be used for job applications, business websites, social media profiles, or other professional purposes.
The focus of the headshot is on the individual being photographed. The goal is to capture their personality, expressions, and appearance in a way that represents them in the best possible light.
The shoot can take place in a studio or on location or both, depending on the client’s preference.
The background is often simple, neutral, or blurred to keep the focus on the subject.
A headshot photography shoot usually results in a few select images that are delivered to the client in Jpeg format, ready to use online or in publications.
Headshots are ideal for job hunters and company directors or board members and staff headshots.
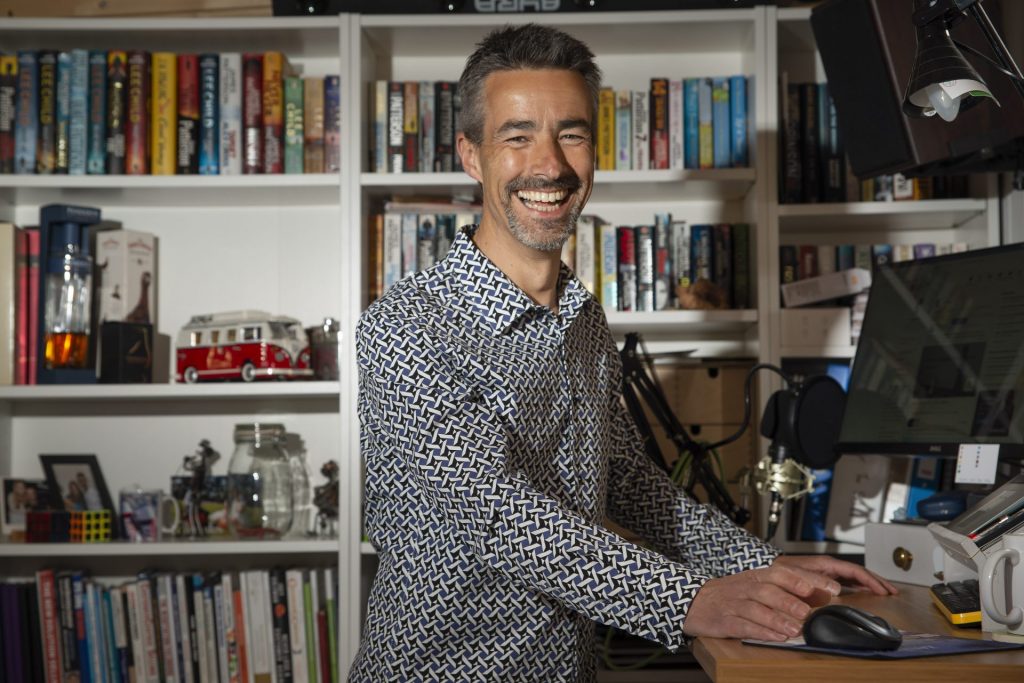
The Brand Photography Shoot
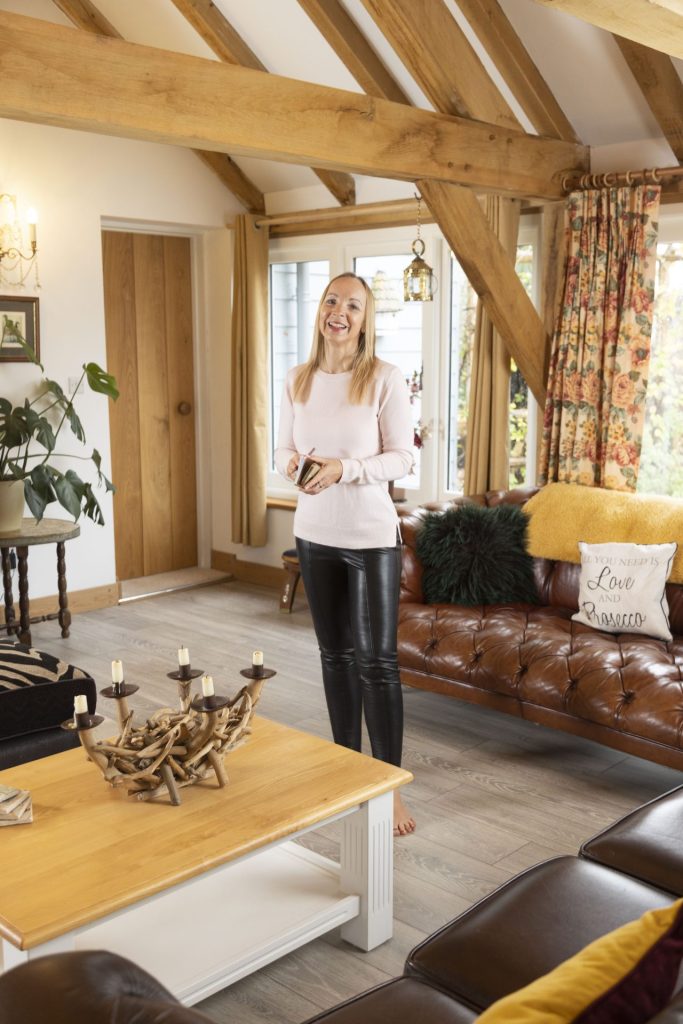
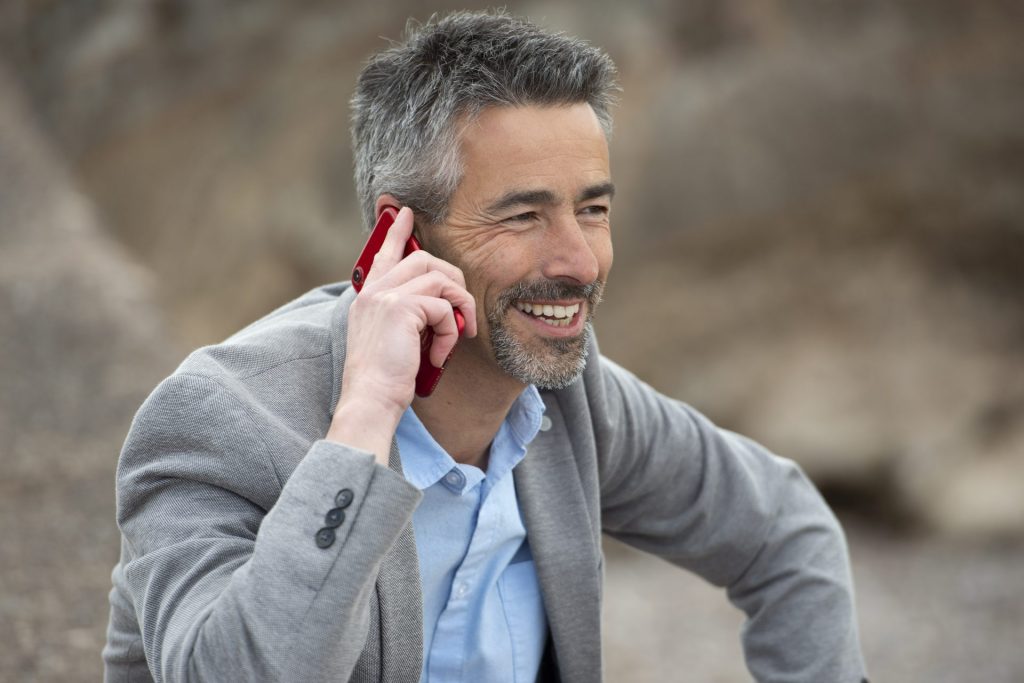
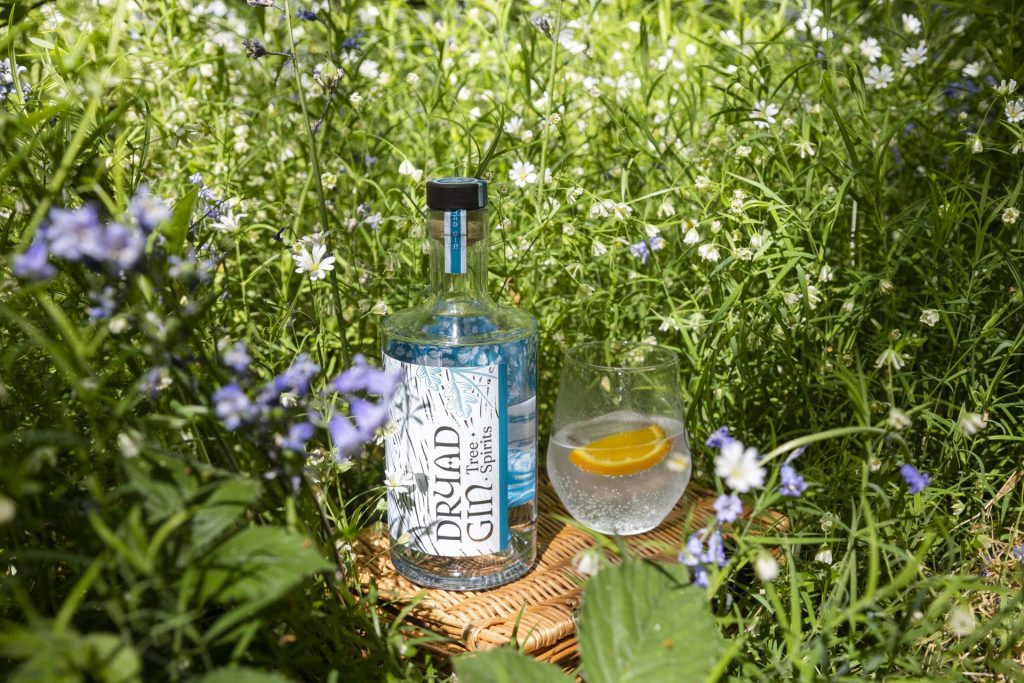
A brand photography shoot is focused on creating a set of images that tells your brand story and represents a brand’s core message, values, and personality. This can be a personal brand or brand imagery for larger organisations. The concept is the same.
Brand images are designed to help create a consistent presence on and offline, that aligns with the company’s values and builds knowledge, likability and trust in the brand.
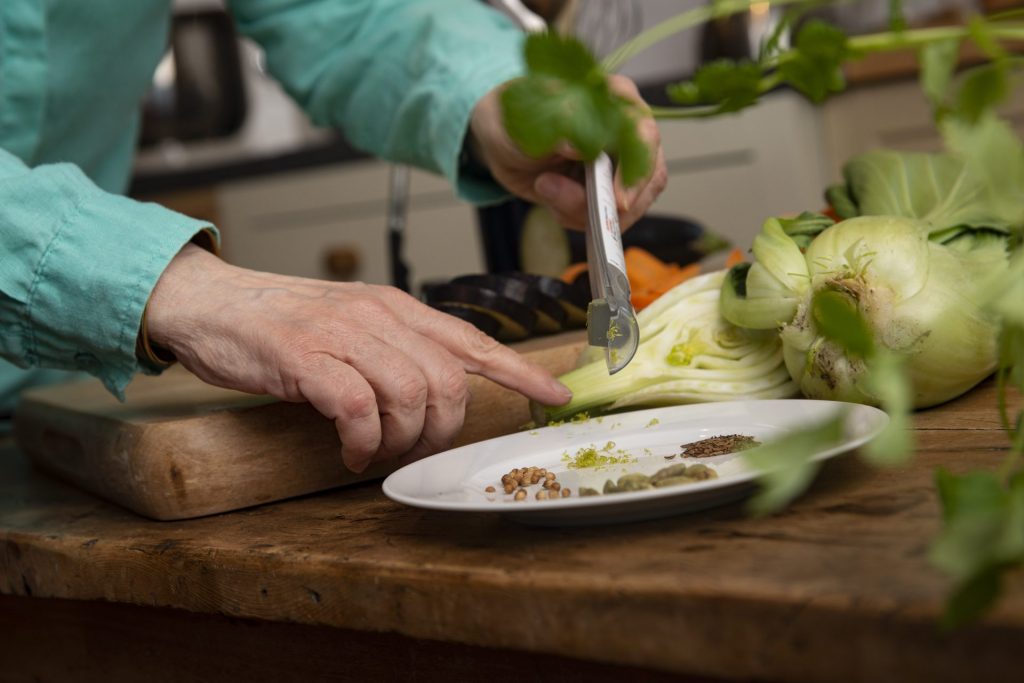
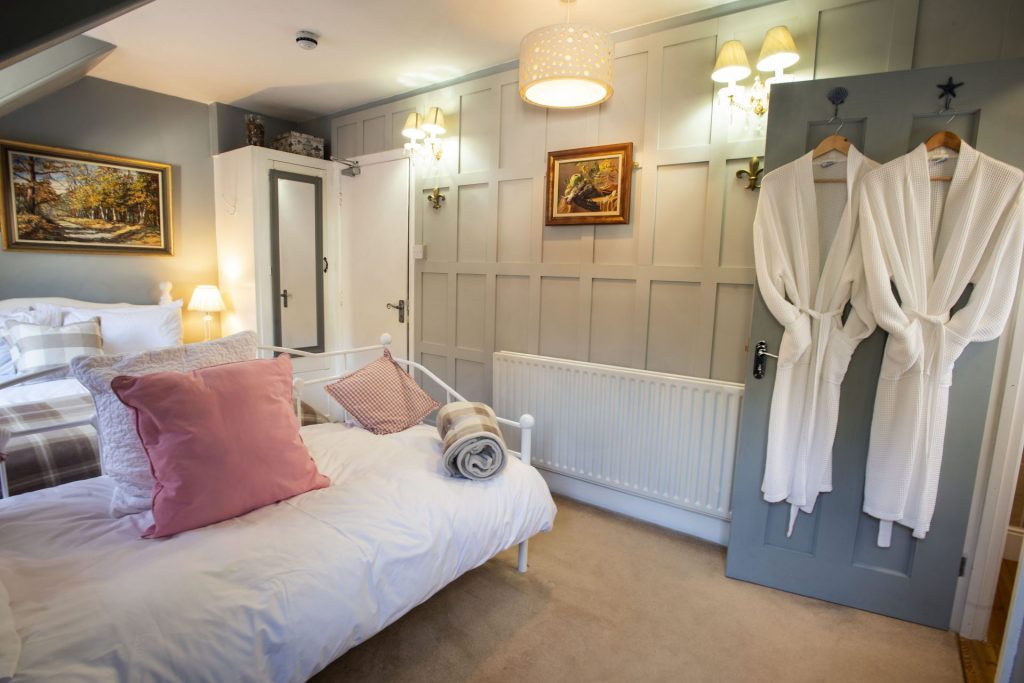
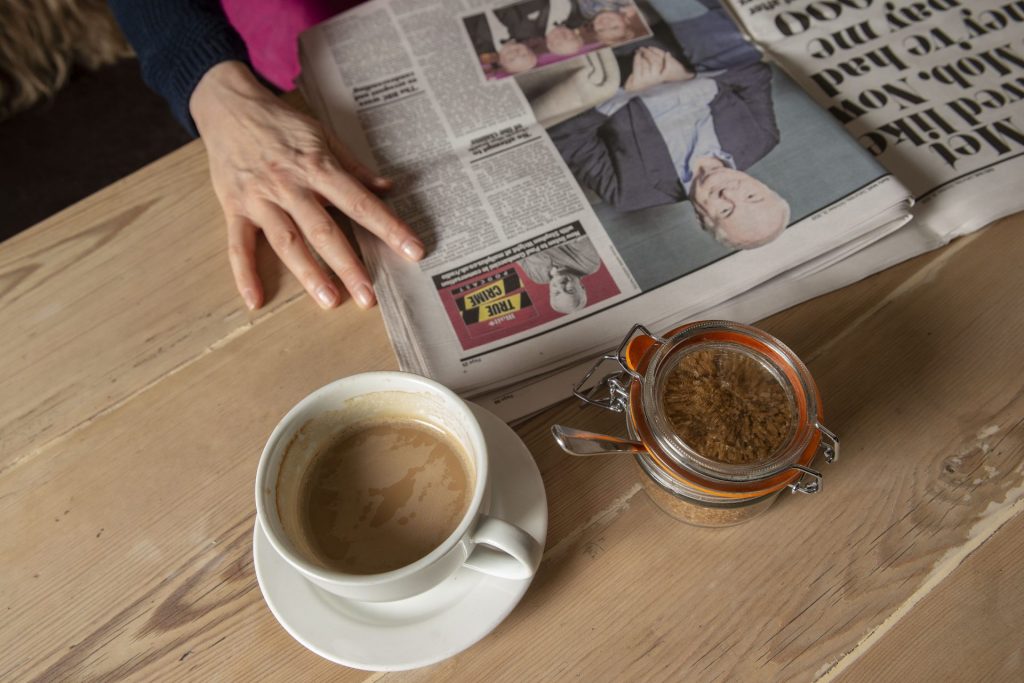
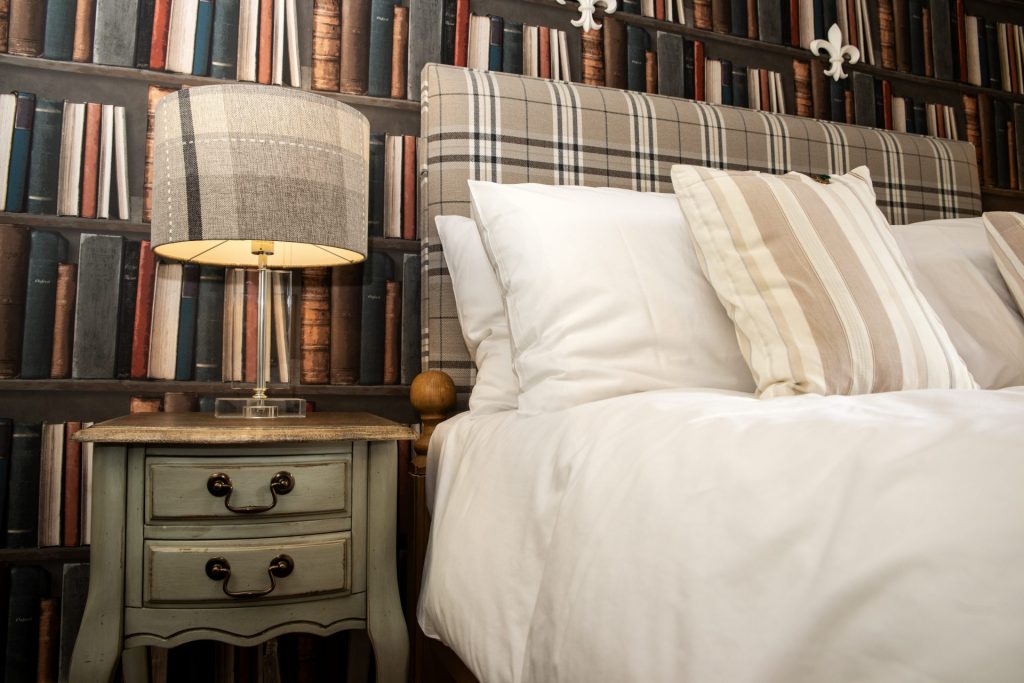
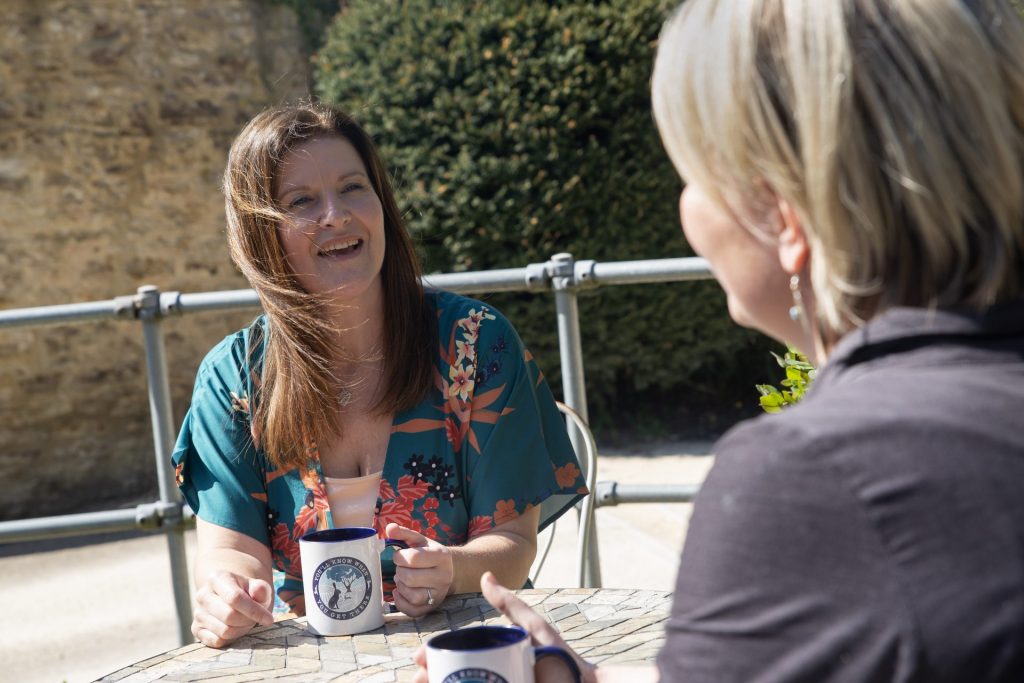
Brand shoots are likely to take place in a variety of settings, some may still make use of a studio, but are much more likely to be shot on location in coffee shops, retail stores, a factory, an office, or an outdoor location, depending on the brand and how they want to portray their business.
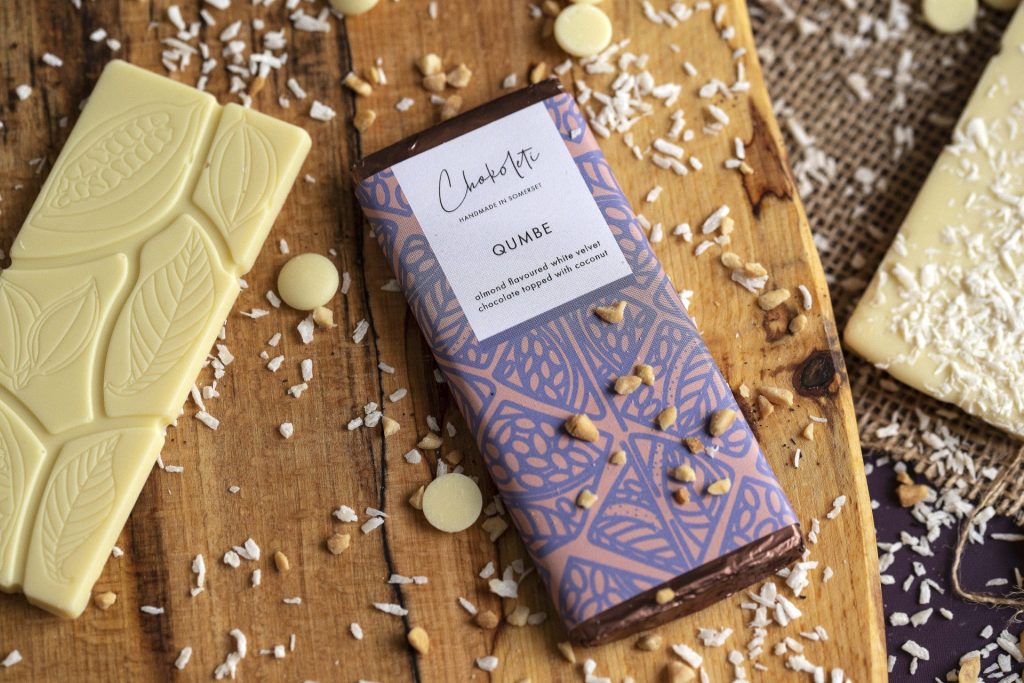
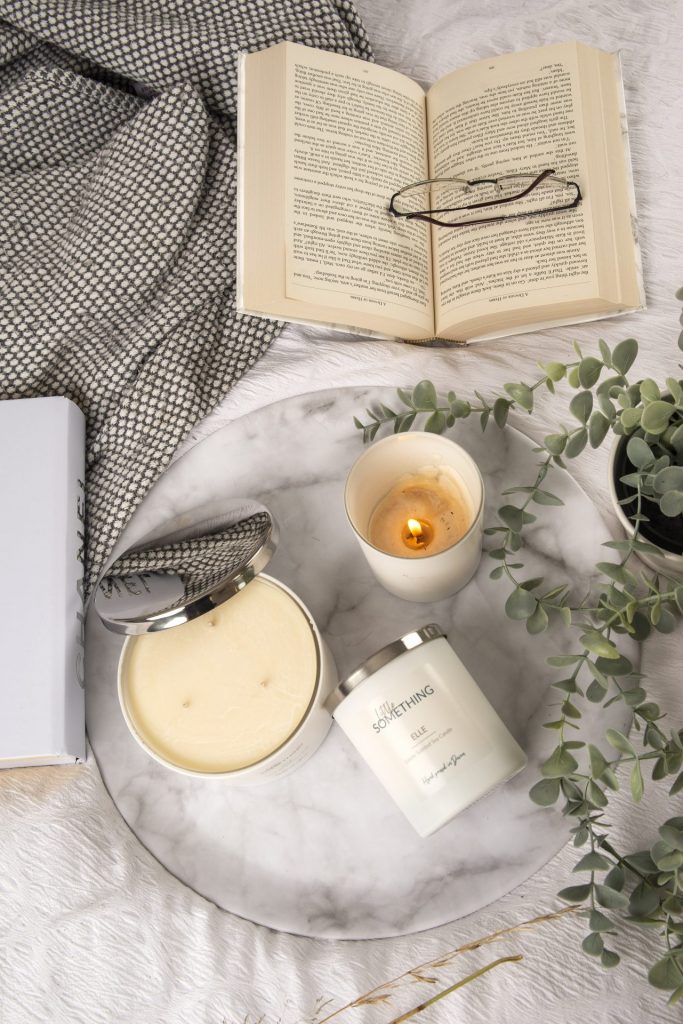
The focus is not necessarily just on the person or people in the business, but brand photography will also showcase your products and services too. These shoots often involve the use of props, models, and stylized sets to create a specific look or mood.
brand photography shoots will generally produce a larger set of images that can be used for a much wider range of uses.
Marketing campaigns, advertising, social media, websites, presentations and many other purposes.
Brand shoots are perfect for Business owners and companies that want to be more visible to help draw in ideal clients and indeed help recruit the right staff.
I will always try and help you gauge what is right for you and your business. And am always willing to chat to help you navigate the process. If you are still not sure what is the right approach for you. Then reach out and let’s work it out together.
The lowdown on just exactly what brand photography is, what a brand photographer does, what you need to do to make your brand photography work for you, and why just about every business should be hiring a professional brand photographer .
It’s a rubbish phrase isn’t it, we have all heard of branding and brand photography but what exactly is it and why is it so important when running a business?
Branding isn’t just a logo on a fancy business card, it goes so much deeper than that, it includes your company’s values, core beliefs, and reason for existing ( am I getting too deep for the first couple of paragraphs). It is your identity, it’s what separates you from your competition and what makes your clients want to work with you.
Brand photography can be anything linked with your business, from portraits of the people to the products and the places or even props and flat-lays that link together the aspects of your business.
Having a range of on-brand photographs gives you a visual identity that matches the tone of your company’s identity which can work alongside a great logo and some brand colours that can help to keep your brand consistent such that it is easily identifiable.
That consistency alongside imagery that helps make your business easily recognisable, will help clarify and solidify your place in the market to your followers, customers, and clients.
WHO NEEDS BRAND PHOTOGRAPHS?
Really every business should have some brand photography. Whether you are a sole trader or a massive international. Telling your story to the world visually is so important.
First impressions are formed in just 50 milliseconds, that’s 0.05 seconds be that on your website or social media. 87 per cent of engagement on Facebook includes posts with imagery. Tweets that include images receive 150% more re-shares.
It is particularly useful for start-ups or those who are looking to re-brand, but it is never too late for any business to start taking their brand photos seriously.
That doesn’t mean that you can’t share your own pictures too, combining these with behind-the-scenes images can be very valuable.
SO WHERE DO YOU START?
My advice would be to research your photographer, find someone whose style you like and whose own brand is closely aligned with your own. Not only will that mean that you will end up with the style of photographs you like, but hopefully you will get along and be able to build a rapport. Remember your photographer will not only make you and your products look good, but they should be an advocate and ambassador for your brand.
Hopefully, they will be someone you will want to build a long-lasting working relationship with. So don’t be afraid to ask for a meeting beforehand so you can see if you get along.
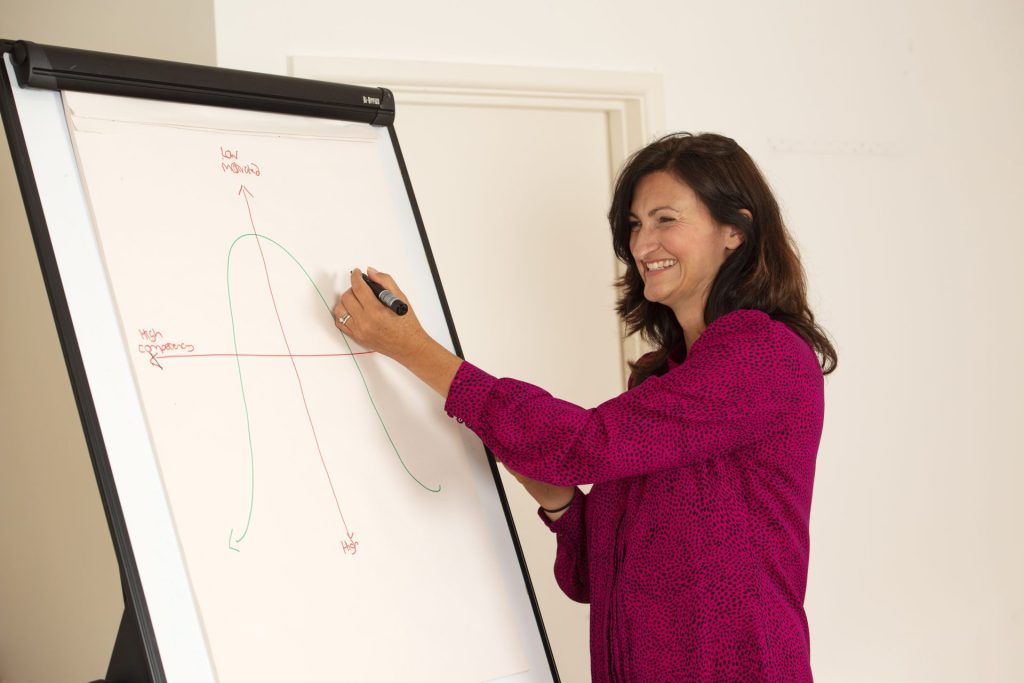
Think about the story you would like to tell. Do you need photos taken in a studio or are you more of a lifestyle or outdoor brand? If you are not sure, talk to your photographer about your business too. Personally, I love helping my clients find their USP (unique selling point), and it is often easier for someone outside the business to help you identify it. Your photographer will be bursting with ideas and ways to show off your brand.
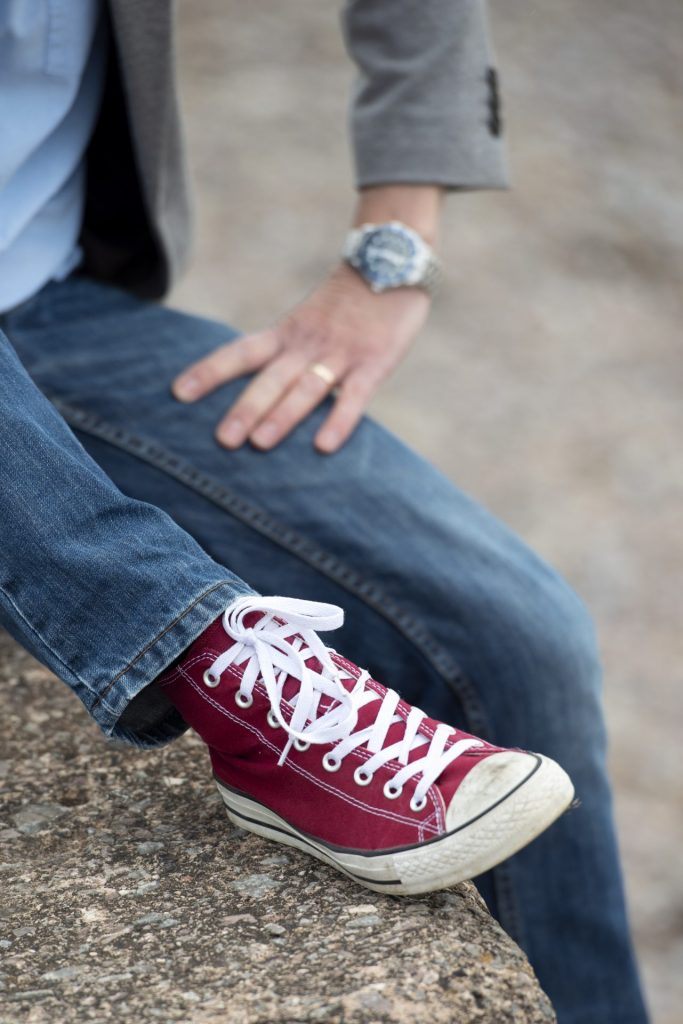
Think about your clothing, bring at least a couple of different outfits to your shoot, you will not look the same in all your pictures and they can be used more often. Wear what makes you feel good, comfortable, but also represents the ‘business you’. It might be something in your brand colours, or you may want a corporate look and a casual look so you can use the photos for different clients or occasions.
Build a library of pictures that you like, share these with your photographer, so they can gauge the style of imagery you like. I usually suggest Pinterest to my clients as it’s an easy way to find and make collections of images that you can share.
Think about how you would like to use your pictures, Make a list of the shots you might like. If you have any ideas for certain social media posts, now is a great time to get some unique images to go alongside them.
HOW CAN I USE MY BRAND PHOTOS?
There are so many uses for your brand photos. Your pictures aren’t just for your ‘about me’ page or your LinkedIn profile. Below are just a few ideas:
Use them on, your Instagram/Facebook/Twitter/LinkedIn posts and stories Also as Cover and profile photos As an email signature Pop your pictures into graphics which you can make easily using software like Canva, or into a video using a program like Quik. They can be used in your PDF documents Webinars Podcasts In your online store. They can form part of your press and PR package Help illustrate your online courses On your business card Most pages of your website ( or all if you are so inclined) Your Blog Brochures and newsletters On your thank, you cards And you could even send one to your parents!
WHEN SHOULD YOU GET STARTED?
Sorry but there isn’t a perfect time and no magic wand which will make sure you are a perfect weight or don’t have a spot that day, I know, I’ve wished for it too.
If you are nervous about having your picture taken, you shouldn’t be, your photographer will want to make you look your best, and if you do have a particular hang-up, there is always photoshop! Talk to your photographer about it, they will not judge and will try and avoid certain angles, etc, to make sure you are comfortable. These things are usually only the things we notice in ourselves.
Try out a few poses in front of the mirror. Chin up, isn’t always right for everybody, no matter what you’ve been told. And if all else fails remember, no one else has to see the photos if you don’t want them to.
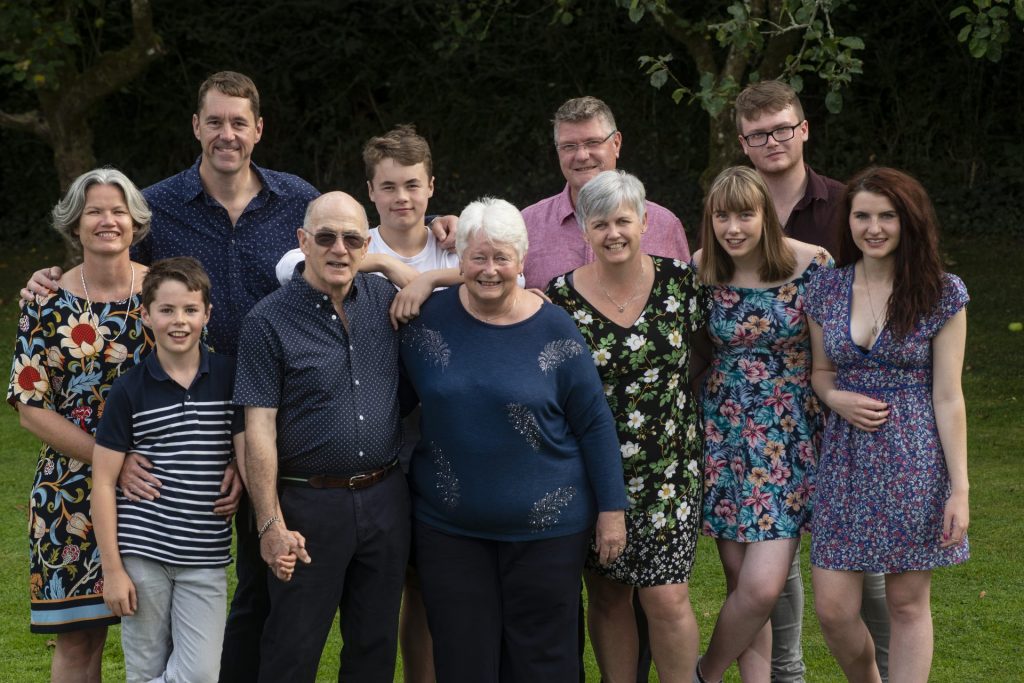
We’re still in lockdown, it’s a bit crazy, but it’s also a great opportunity to take family photos, with everyone spending more time together, let’s remember the good times, and create a family record. It seems like a good time to share some of my more practical tips and tricks for getting the best out of your family portrait.
After finishing my degree in Photography in the Arts in Swansea, I spent a couple of years as a family portrait photographer. This gave me a real insight into the psychology of the family unit and how best to interact with people of different age ranges to get the most out of a family portrait session.
Getting that one shot of the family with everyone looking the right way with their eyes open, a smile on their face and a nice composition can be one of the trickiest things to do and can become quite stressful for all involved when it’s just not working. There are a few things that can help manage the situation and help you get the shots you want quickly and even make it fun.
TIP 1: Be prepared and get yourself sorted first.
It’s a bit like being on an airplane when the flashing lights come on and the masks drop – make sure your mask is on first before you help the children. If you are not organised, a photoshoot can descend into chaos very quickly. We all have short attention spans and this can make things difficult when hesitating on a shoot.
Make sure your camera or phone batteries are charged.
Decide on a location.
Set up your camera with the right settings for the situation.
Make sure the lighting will be okay before you even get the children dressed, that way there is less chance on them wandering off and getting covered in dirt or picking up a computer game that they then don’t want to put down again before you have even managed to press the shutter.
TIP 2: Locations.
Locations don’t have to be fancy, especially with a family portrait, because it’s the people you want to focus on, not necessarily the beautiful sunset. If you are shooting inside try and find a plain wall to shoot in front of. You don’t want to be distracted by a plant growing out of a family member’s head.
Lighting is very important here too. If you don’t have any kind of professional lighting at home, you will want to make sure you are getting enough natural light on the area you want to shoot in from the windows – using normal house lights will give you a yellow glow unless you are using daylight bulbs.
Take down any pictures and make your backdrop as distraction free as possible. If you want to go into the garden the same applies, find somewhere that’s not too fussy, a nice big green bush with plenty of foliage can work well. Or add a bit of colour with a flowering plant behind you.
In England the lockdown rules are being relaxed a little which means you could head to your local park or recreation area to take some family shots, IF it’s not too distracting for young children for instance, or too embarrassing for your teenagers!
If you do want to head out to a beauty spot, I would become a bit of a location scout first. Have a look around and if you find somewhere that you think would make a lovely shot, make sure you make a note of where the sun will be in relation to your camera at the time of day you want to do it. There’s nothing worse than getting everything else ready and prepared only to find out that the sun will be directly behind you, will wash out your background and turn you all into silhouettes ( unless that’s the look you are going for, of course).
So you’ve found your location, set up your camera, got your lighting sorted. Now comes the hard part – getting everyone to engage!
TIP 3: Shooting with small children
If you are shooting babies and small children, you have to let them lead the way a little bit. Get them in position, but if they want to hold that cuddly toy, let them, it is better to have their favourite toy in the picture than a crying toddler.
In years to come the significance of that toy can bring back lots of happy memories (I still miss Herman, my favourite teddy bear).
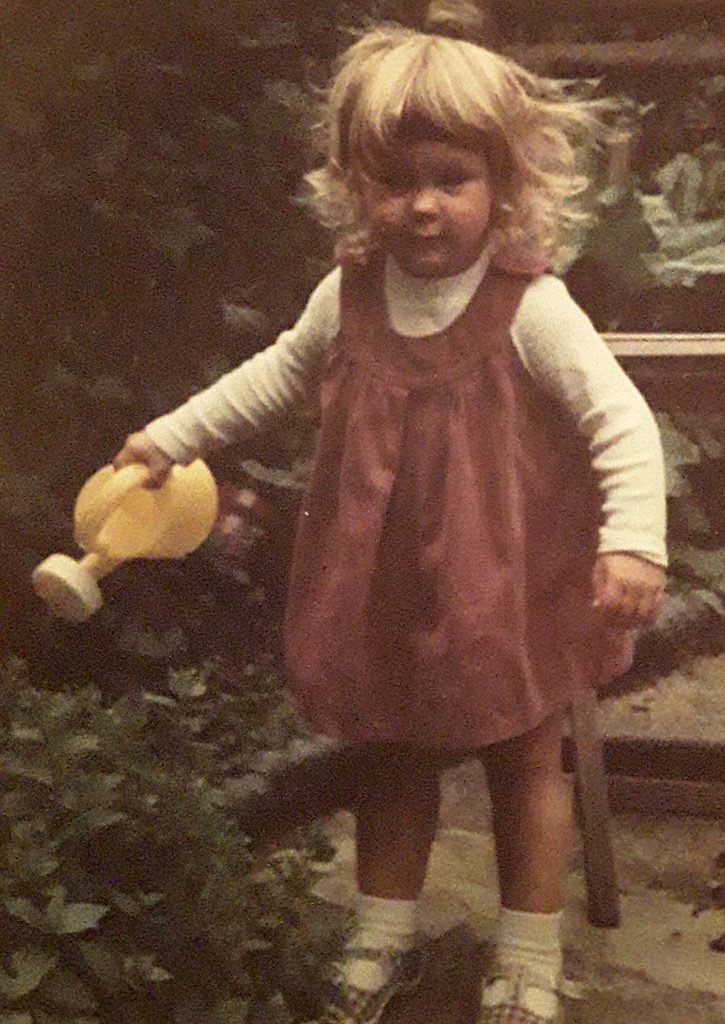
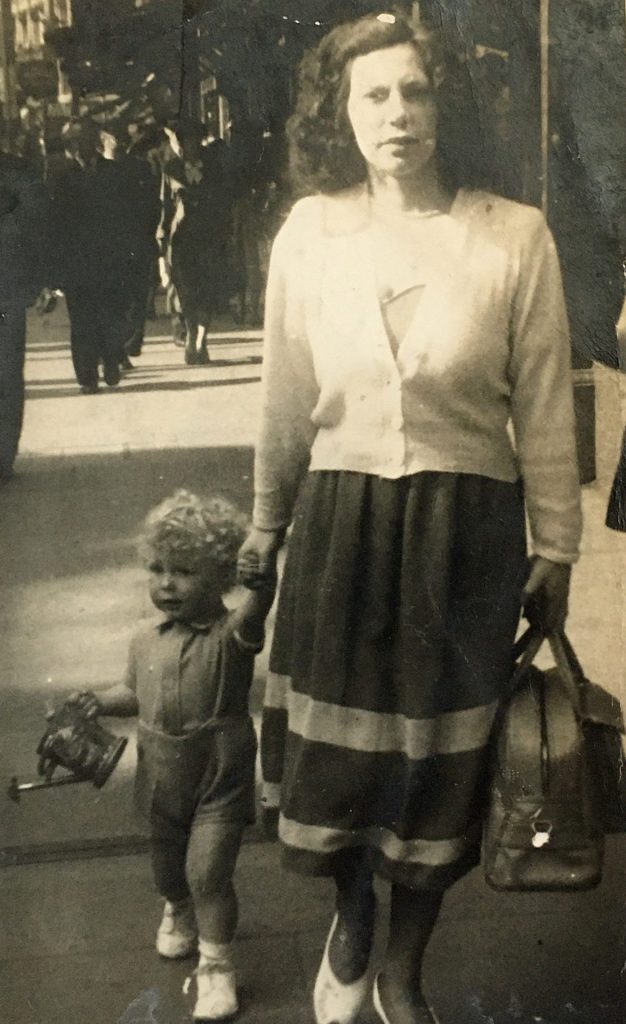
Here are me and my dad, both photographed a two years old. And yes we both still love to garden!
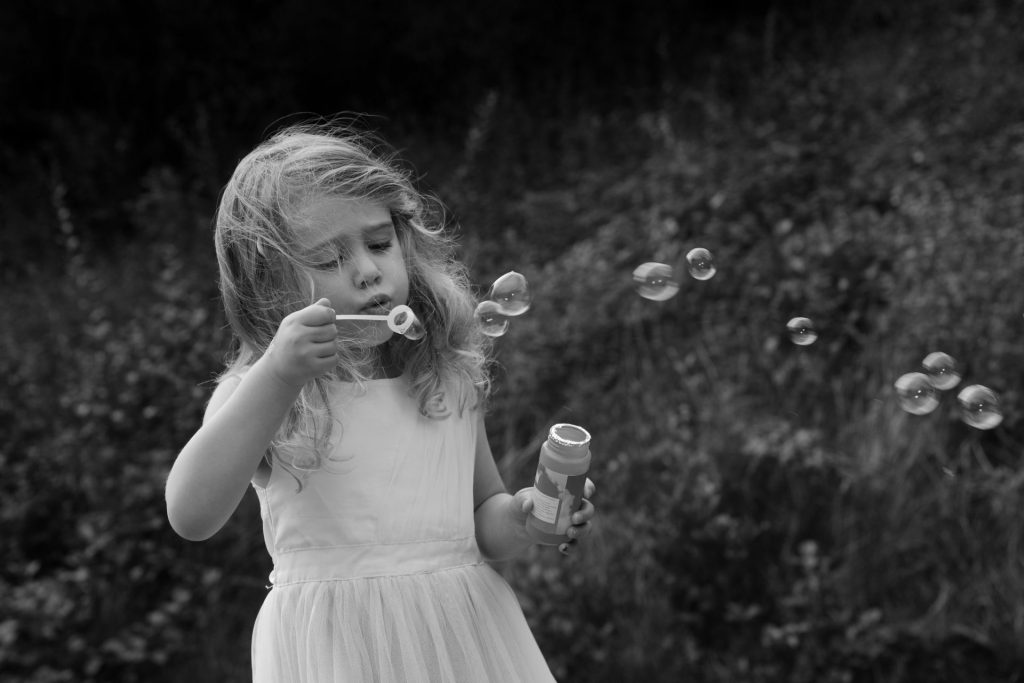
You could try Introducing a new toy or something a bit more creative to entertain them. In the example below my niece was given some bubbles, they add an element of interest to the pictures and could be used in a whole family portrait too.
Izzy in the garden playing with bubbles
TIP 4: Older Children
If the children are a bit older, try involving them in the process. If you are wanting to shoot a picture of the whole family without a photographer to hand the likelihood is you will need to use a timer. Cameras and phones almost always have the function to do this.
Let the child press the shutter, you can turn it into a race with the camera, a game to get them back into position in time.
TIP 5: Take more than one photo
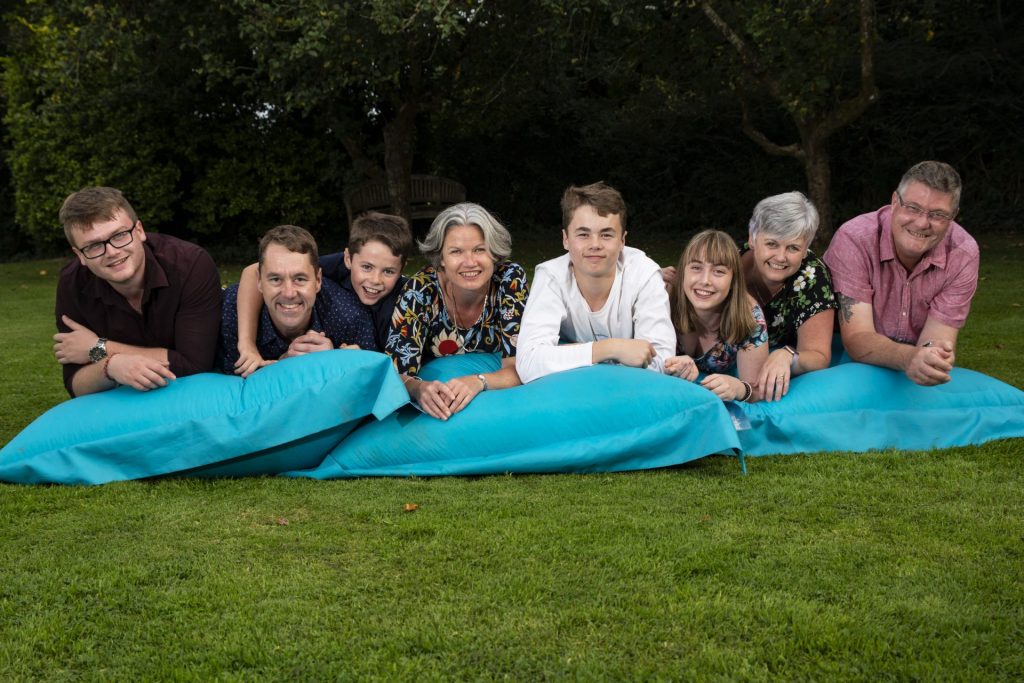
Try a few different positions to create a nice composition and to make it a bit more of a creative and fun experience. You could try laying on your stomachs , jumping up in the air, have the parents sitting down and let the kids jump on your backs.
If you are stuck for ideas, have a look online at some family portrait photographer websites for inspiration and see what you like and what you might like to try. Know when to move on and try something different, you know when your family is starting to get bored, if one position doesn’t really work for you move on and try something else.
TIP 6: My final tip
It is a simple one, but can be overlooked all too easily. Parents, be less concerned about what the children are doing and check yourselves. Nothing ruins a nice shot as easily as a parent looking at the child while pointing at the camera telling the child where to look.
Have fun with it, and make sure everyone is involved in the creative process. I’m sure you will have something to be proud of, something to send to the grandparents until you can next meet.
Hints and tips for photographing animals and insects
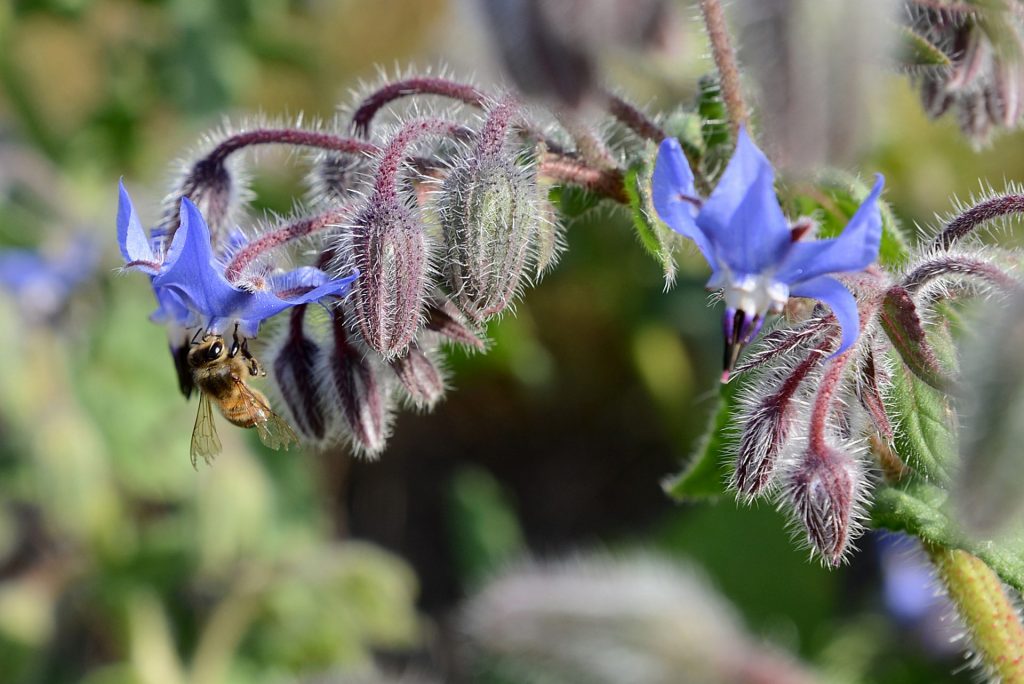
A bee gathers pollen from a Borage Plant, Elder Farm, Somerset
Happy world earth day one and all.
Mother Earth is a complete marvel and should be celebrated everyday, but on the 50th anniversary of it’s special day, I hope that many more people will be thinking seriously about the best way to protect her. One of the biggest benefits of the current situation seems to be the improvements to the state of the ozone layer and air quality, it has also allowed nature and wildlife to thrive in places it normally wouldn’t . With the nice weather continuing in the UK I thought today I would do a little post about capturing animals and wildlife with your camera (or phone).
Finding a subject to shoot and how to shoot it.
We can help the wildlife and ourselves by attracting some wildlife into our own gardens , bird feeders and watering stations are really useful and give an easy focal point to watch, a lot of the birds will become regular visitors and will allow you a certain amount of trust which should make it easier to photograph them. You can even buy bird feeders that will attach to a window, so you don’t even need an outside space.
Tip 1: Using a long lens (telephoto/ or zoom) and a hide or a bush to hide behind is great idea if possible, but staying still when trying to photograph wildlife is the most important thing to do, as animals are easily spooked. Once you have got a few shots that you are happy enough with then you can try and move closer to your subject if your lens is not quite long enough by taking a few slow steps at a time, but don’t rush it, its better to get something you can crop in post production instead of nothing at all.
Insects can be attracted by planting plenty of plants and flowers, look out for bulbs and seeds that are bee friendly, the bright colours make for attractive backdrops for our photographs. Alternatively don’t cut down your weeds. Dandelions especially in early spring can be a life saver for bees who pollinate 85% of all the world flowering plants, so helping them is really helping all of us and it means less weeding. Dandelions are also edible for humans so you really can’t go wrong. Watering stations for bees are also important and something that is overlooked, just filling a shallow dish with some small pebbles and a little water gives them an easy place to drink.
Tip 2: A macro lens is really invaluable when shooting details and small subjects like insects. They range in price and quality but relatively cheap lenses can be bought for all camera types and as add ons for most phone cameras.
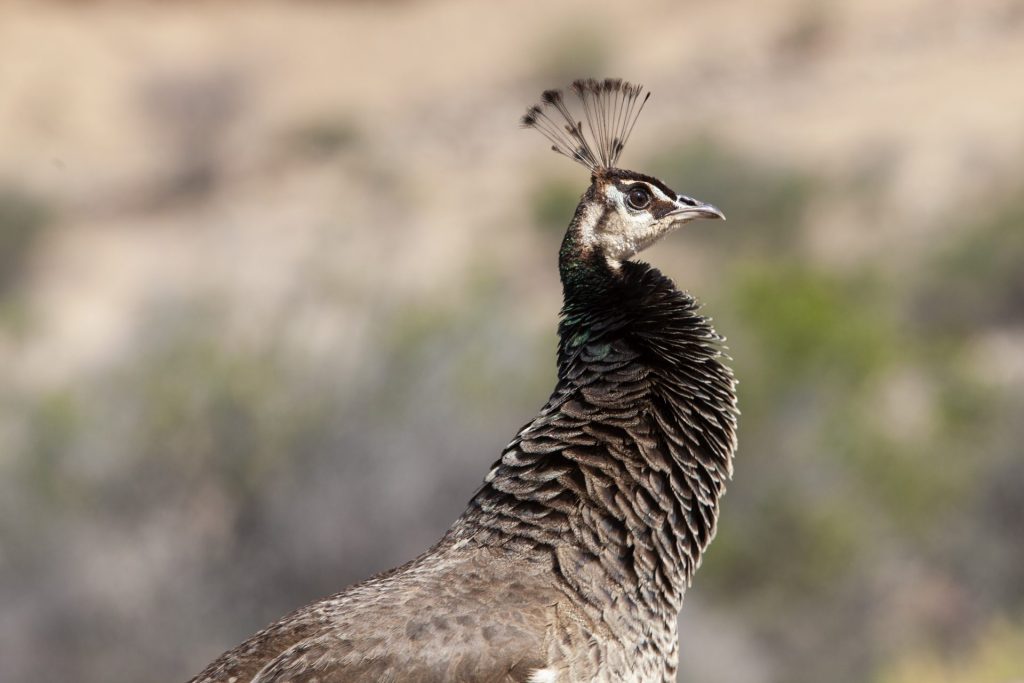
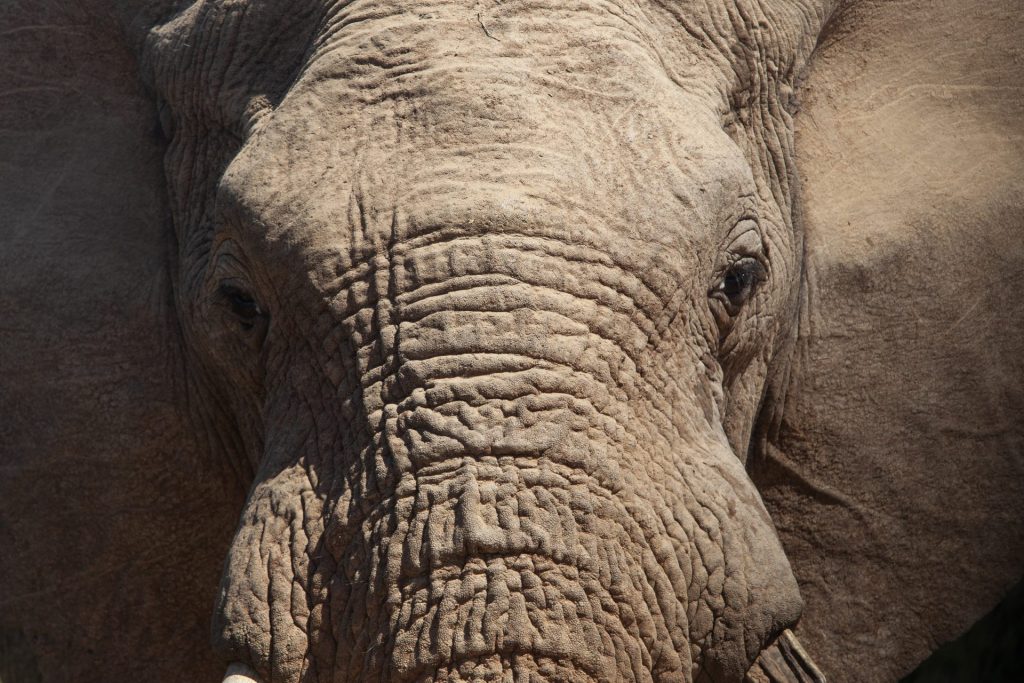
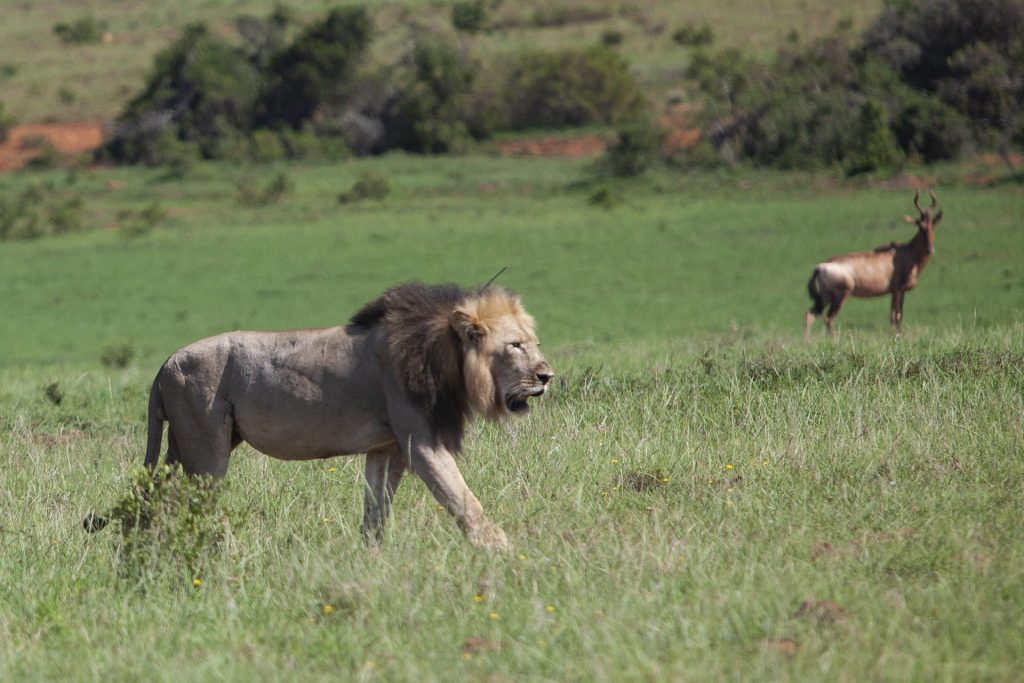
Peahen and an Elephant both shot on a long lens with a wide apeture
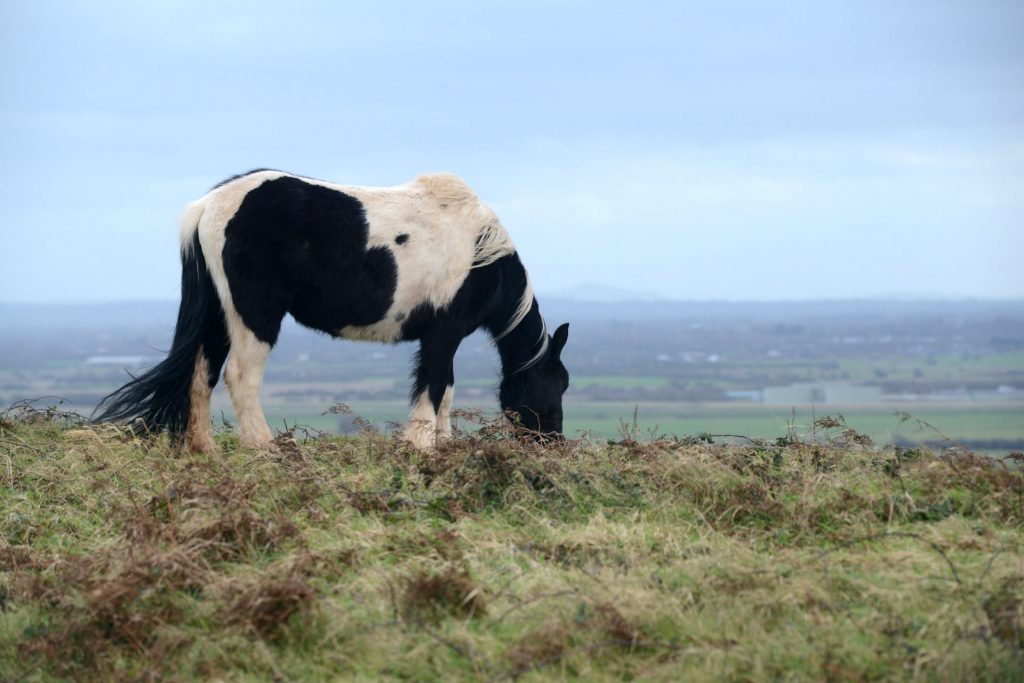
Tip 3: Find a plain or simple background, so your picture is all about your subject. You can use your aperture to soften the background if it looks a bit messy, I would shoot at a maximum of f5.6 but ideally lower. If you are using a phone that allows it, you can try setting it to portrait which will give you the same effect. Try focusing on the eye as it is what people are drawn to ( though maybe not with the insects).
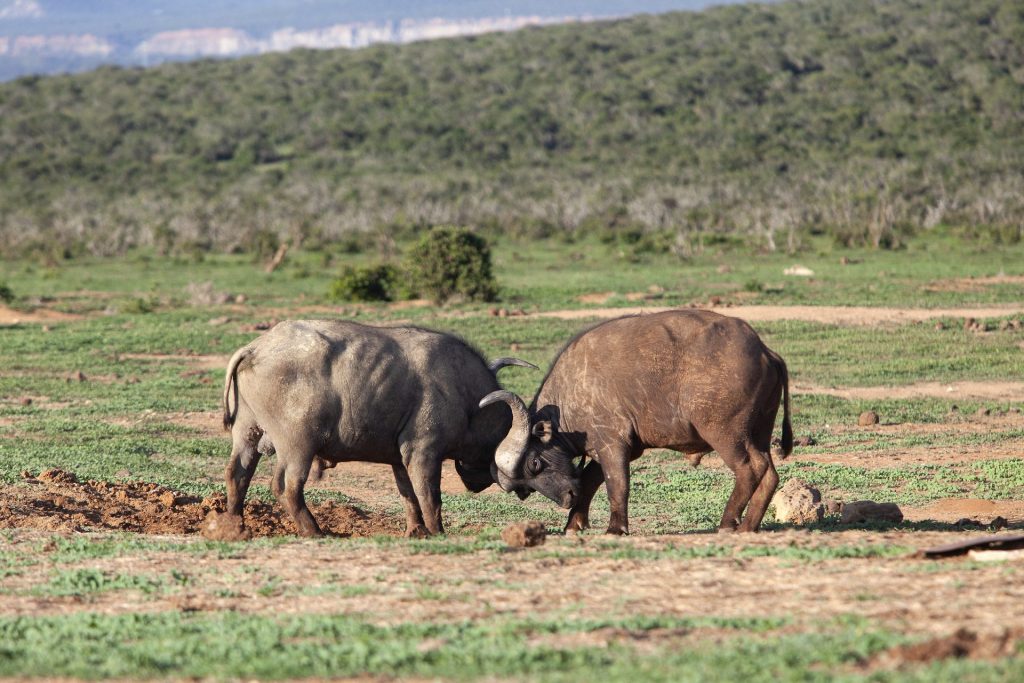
Tip 4: BUT check your speed. Always take notice of your shutter speed this will help make sure your photographs are sharp. This becomes increasingly important when photographing action or moving animals. In aperture priority mode for instance the shutter speed can be modified by changing the aperture and ISO values. With good camera and lens support a portrait can be photographed at anything from 1/50 to 1/320 second shutter speed. When things start to move the speed of your shutter needs to increase, to help capture the movement and keep your image sharp. Walking animals from 1/400 to 1/800, running animals from 1/1000 to 1/1250, flying birds from 1/1600 to 1/2500, and small, fast flying birds at 1/3200. Check out some of the local wildlife pictures taken by Somerset Photographer Les Pickersgill on his facebook page he has some great shots of Birds and insects in flight.
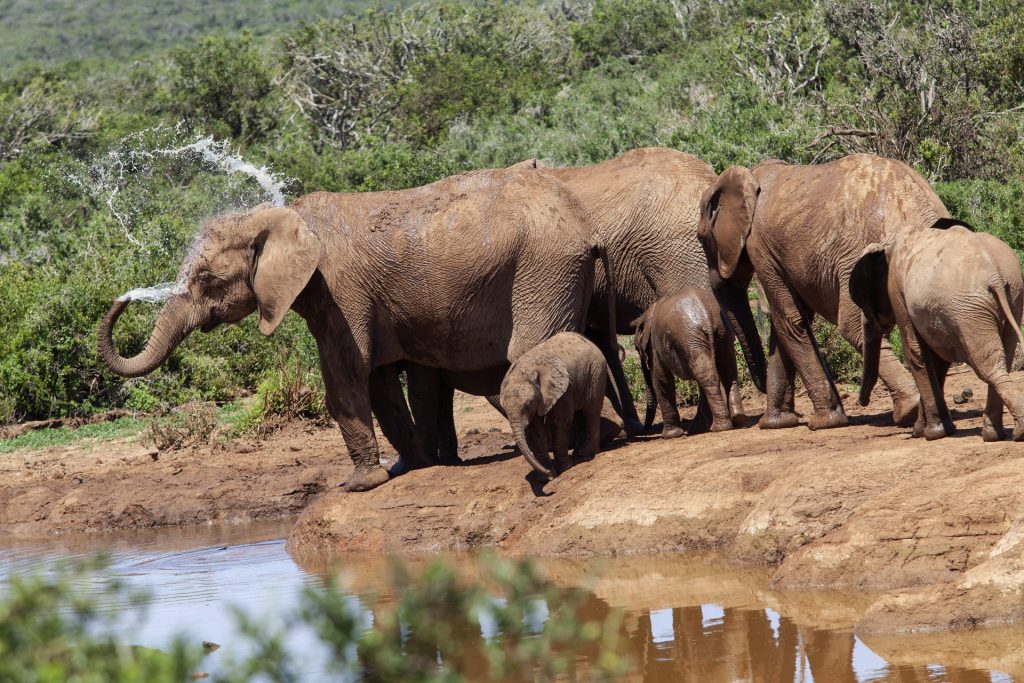
Bathing Elephants in Addo Elephant park, South Africa Feb 2020
Tip 5 : BE READY. Choose your camera settings for what you want to shoot BEFORE you set out to find your subject, animals don’t tend to give you a second chance.
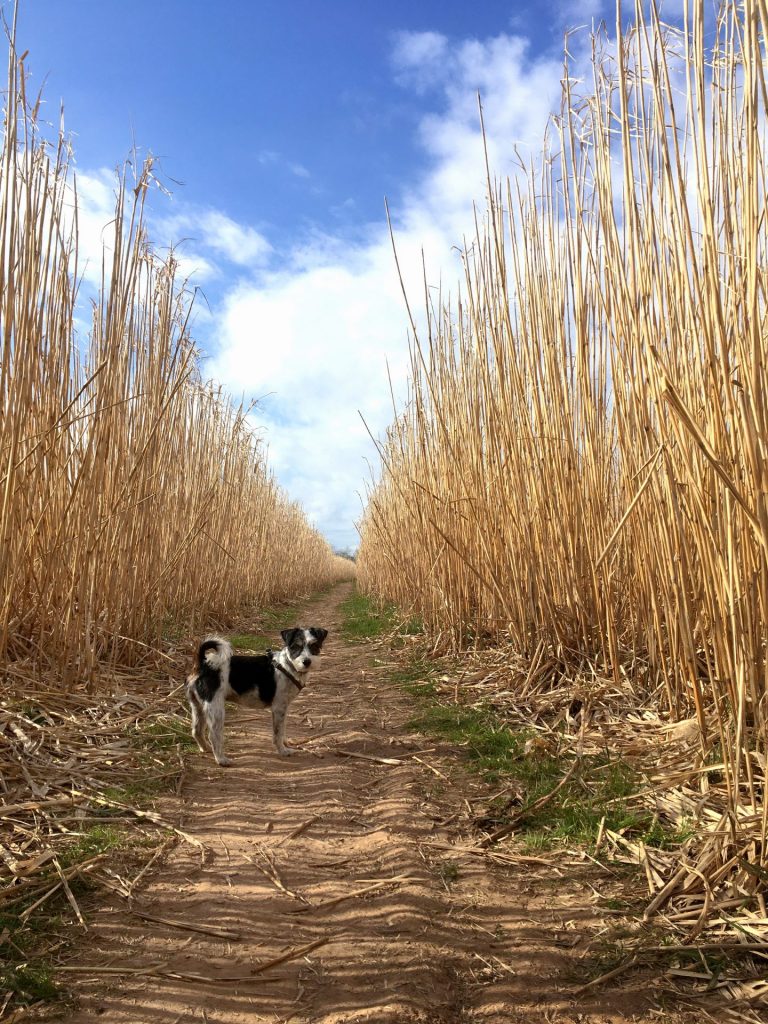
Tip 6: Practice. If your not ready to shoot the fast moving creatures, practice first, try it out on your pets, dogs are generally more helpful than cats in this situation, but you can try both, they will move around so you can practice capturing the motion, and will give you a few chances to test camera settings. Alternatively, and a fun one to try with small children. Find a snail, you can easily move and place a snail in a scene you can set up yourself, a nice easy slow starting point to get you going.
Have fun out there and please post you results on my facebook page at Aisling Magill Photography.
As April is National Stress Awareness month, and this time around we are all living in this exceptional circumstance I thought I would start my series of tips with you by talking about how we can use photography as a stress buster and tool for a bit of creative relaxation. Photography is not always about making the prettiest picture, but it is a great way to release some creativity and express yourself. It doesn’t need to be complicated and some of the simplest things can make for the greatest of images. So how to find your inspiration? Don’t force it, If you don’t feel like taking pictures then it’s probably not going to work for you. Only take pictures when you WANT to, it needs to be enjoyable and not a chore. We are somewhat limited at the moment but there are still plenty of photographic opportunities.
Go on that walk
For me, there really is nothing better for the soul than just going for a long walk in natural surrounding especially with the dog. I rarely take my camera ( I know I really should), but I always have a phone camera to hand in case I see something that attracts me. Of course this is something you can do in the garden or around the house just as well if you are in isolation or just don’t fancy going out. A lot of mental illnesses, depression, and other problems arise from inactivity. We’re stuck in our offices, and in particular our homes right now, so any form of exercise can really help lift the spirits. Dance is really good for this as it helps to occupy both body and mind. A ‘Photographic walk’, works in the same way by making you think while you move.
TIP 1: If you do have a camera my advice is to take it, pop it over your shoulder as it will add that extra gravitas to your purpose and will help remind you to take those pictures.
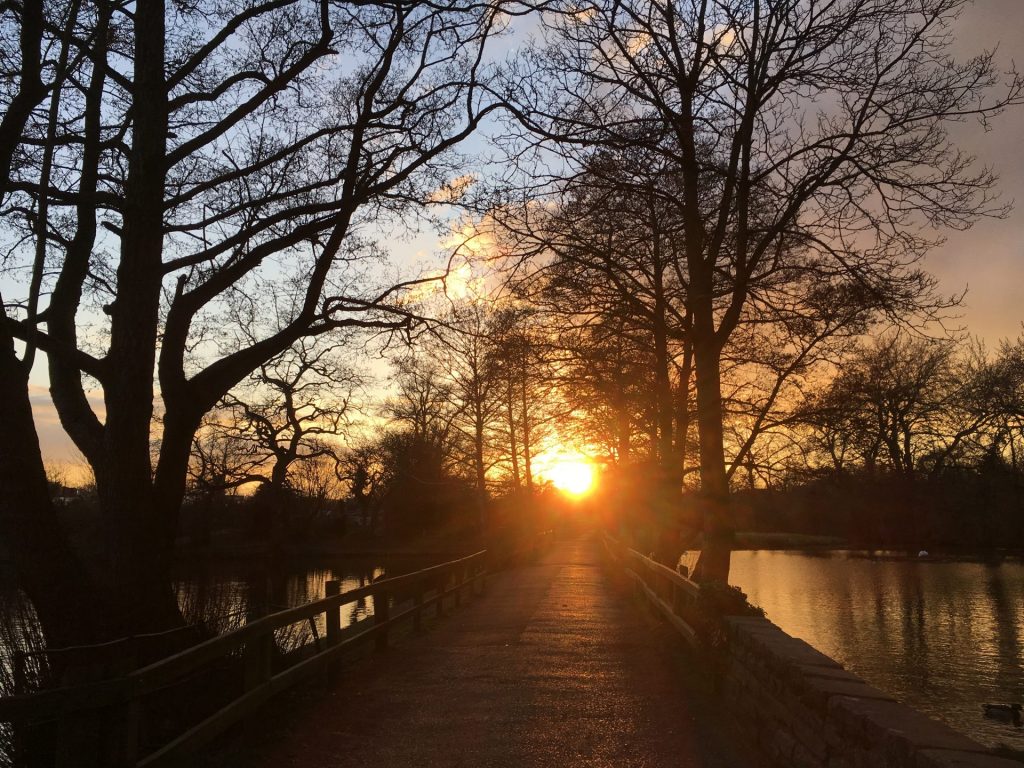
TIP 2: Try an earlier morning or late evening walk during what is know as the golden hour, just after sunrise or before sunset, when the sunlight is at its best and gives everything a golden glow. Weather permitting of course.
early morning sky, shooting into the sun
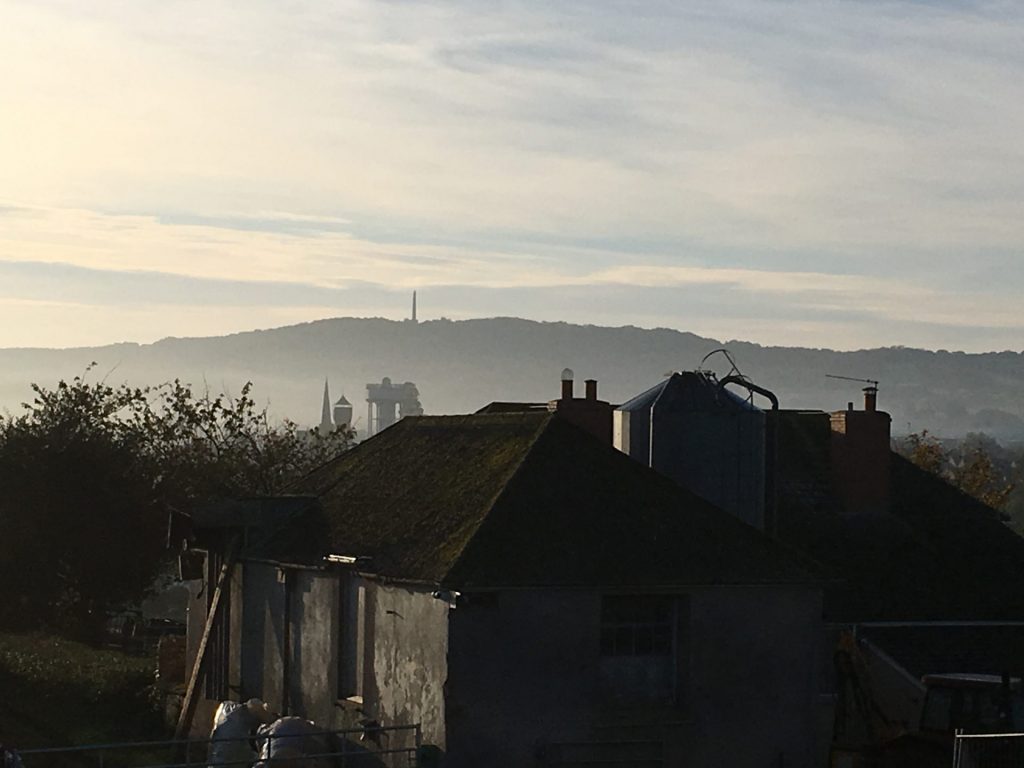
Hazy morning sky with side on sun
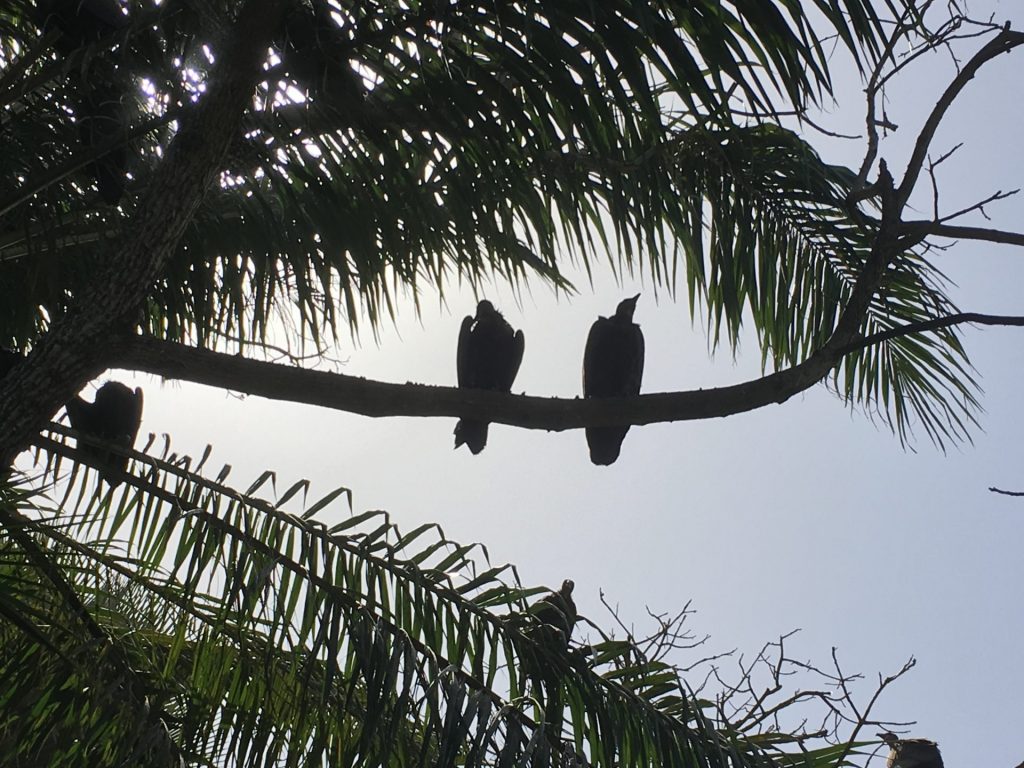
TIP 3: Be mindful of where the sun or that light source is in relation to your subject, if its behind you are you casting a shadow ( and do you want to?) . If its behind the subject is it bleaching it out? Wherever the light is coming from will have a profound effect on what your image looks like, so just remember you are in control of it. You may just have to work around your subject to get it to look how you want.
Back lit vultures create a nice silhouette
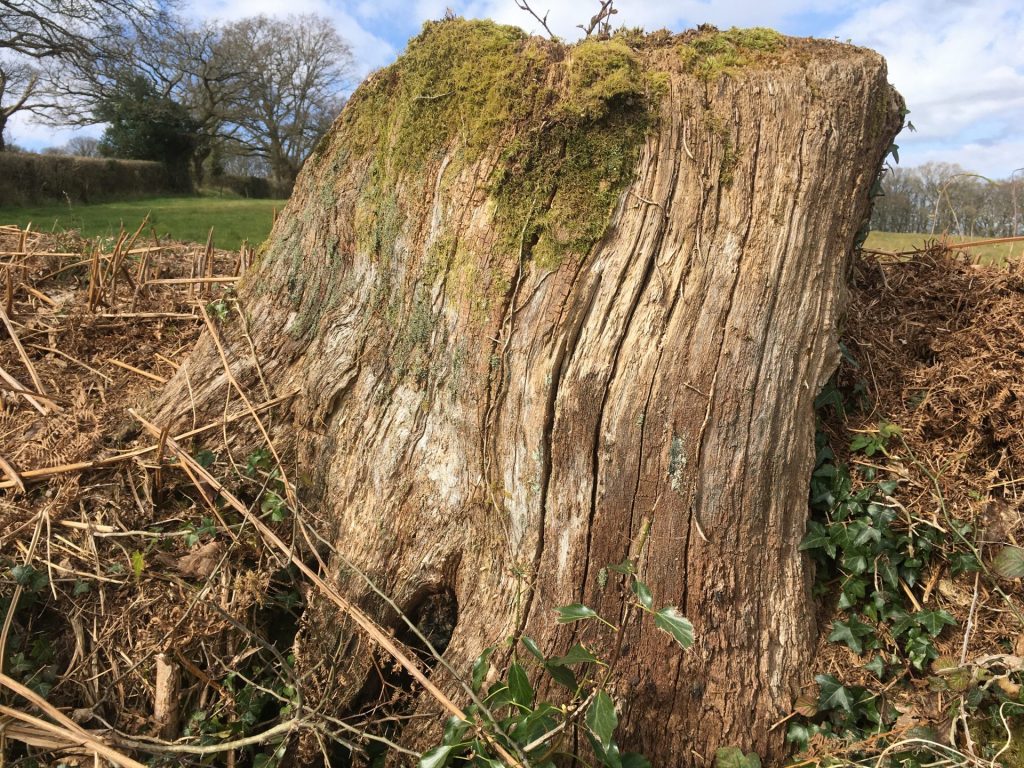
TIP 4: Look for the detail, nature is a real marvel, and I love photographing its little details. The shapes and colours that she provides are incredibly up-lifting. I love that photography gives us the opportunity to find beauty in the mundane or everyday. walk slowly, and look at the ground, or up in the trees. There is a lot that we miss by not looking around us.
Details of nature from a recent walk during lockdown
TIP 5: Think about your composition, try using the rule of thirds. The “Rule of Thirds” can help you create well balanced and interesting shots. This involves dividing your image up into 3 sections, both vertically and horizontally and framing your subject in one or two of the four corners where the divides meet. Most cameras and phones will have guides that you can turn on which will show you the exact position of these. I will say right up front however that rules are meant to be broken and ignoring this one doesn’t mean your images are necessarily unbalanced or uninteresting. However a wise person once told me that if you intend to break a rule you should always learn it first to make sure your breaking of it is all the more effective!
TIP 6: Take more pictures. So you found something you want to photograph? Don’t just take one photograph from one angle, shoot around your subject, try bending down low or getting up higher ( though let’s not do anything too dangerous now!) shoot it from one side and then the other. Providing you are working on a digital phone or camera you can take as many pictures as you want and can always delete the ones you don’t like, but you very often won’t get the chance to photograph the same thing again, in the same lighting and weather conditions etc , so make the most of it. It might surprise you.
All pictures above were taken on an Iphone SE.
Thanks for taking the time to read this , I hope you have found it useful, please share your results with me on social media and do get in touch if there is a particular subject you would like me to cover. Enjoy your walk.